
How to Host a Local Linux Install Fest for Beginners
A practical guide to running a local Linux install fest: scouting a venue, prepping USB drives, briefing mentors, guiding beginners through safe partitioning, and following up...
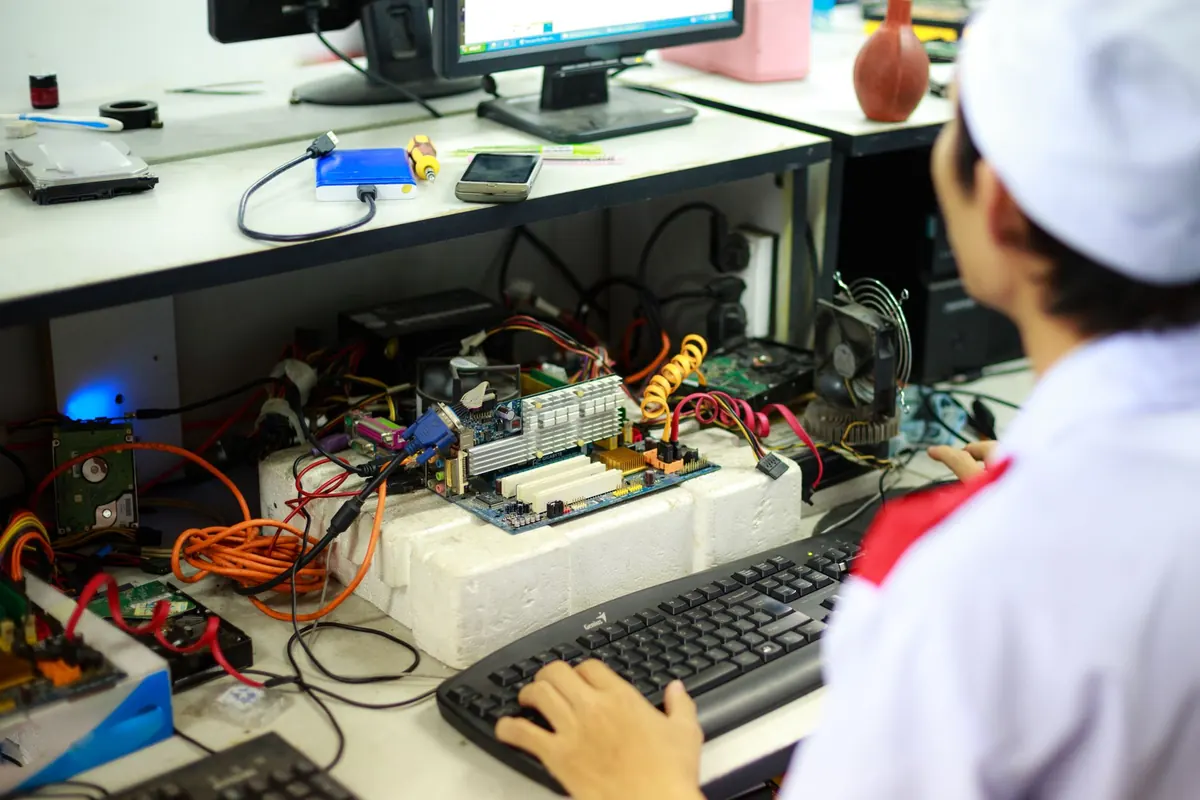
The best moment at an install fest happens near the end. Someone who arrived with a slow, half-broken laptop watches the screen finally settle into a clean desktop, opens a browser, and realizes the whole thing took twenty minutes and cost nothing. They look up and ask, "That's it?" Yes. That's it. Everything before that moment — the flyers, the extension cords, the pile of USB sticks, the nervous first-timer who was sure they'd brick something — exists purely to make that question possible.
Hosting an install fest is not a hard technical problem. It is a logistics problem wearing a technical costume. The software side mostly solves itself; the people, the power strips, and the patience are what you actually have to plan for. Here is how to run one that sends everyone home with a working machine and a good story.
What an Install Fest Actually Is
An install fest is a room full of people installing Linux on their own hardware, with experienced volunteers circulating to help. It is not a lecture, not a distro debate, and definitely not a place where anyone gets told their laptop is too old or too cheap to bother with. In fact, the older and cheaper the laptop, the better the before-and-after story.
The format is simple: people bring computers, you provide helpers, USB drives, power, and Wi-Fi, and everyone leaves with an operating system they can actually use. Attendance can be six people in a library meeting room or sixty in a university lab. The recipe barely changes.
Two Weeks Out: The Planning That Saves Your Saturday
Choose a date and time honestly
Pick a three-to-four hour block, ideally on a weekend morning. Do not schedule it opposite a major local event, a holiday weekend, or the first nice day of spring. Beginners need slack in their day; if they feel rushed, they will bail halfway through a partition resize and you will spend an hour recovering their files.
Find a room with power, not just Wi-Fi
Meeting rooms are usually built for laptops that are already charged. Assume every attendee arrives at 15 percent battery. Count the outlets, then bring twice as many power strips as you think you need, plus a few extension cords and a roll of gaffer tape so nobody trips over a cable.
Recruit more helpers than you think you need
A good ratio is one experienced volunteer for every three or four attendees. Helpers do not need to be experts. Someone who installed Linux last month and remembers how confusing it was is often more useful than a sysadmin who has forgotten.
The Supply List
- USB drives — at least 8 GB each, with Ubuntu, Linux Mint, Fedora, and Pop!_OS written to separate sticks. Bring spares; someone always forgets theirs.
- A writing station — a laptop with Rufus, balenaEtcher, or Ventoy installed so you can create new sticks on the spot.
- Power strips, extension cords, gaffer tape
- A wired ethernet cable and a hotspot — Wi-Fi drivers are the single most common post-install headache.
- External drives — for backups, and for rescuing files when a plan goes sideways.
- Sharpies and sticky notes — label every USB stick, and label every laptop with its owner's name and what stage it is at.
- Snacks and water — installation is mostly waiting, and waiting people get cranky.
One Week Out: Prepare the Sticks
- Download the latest LTS releases of two or three beginner-friendly distributions. Linux Mint and Ubuntu are the safest defaults; Fedora and Pop!_OS are good second choices.
- Verify each ISO checksum. A corrupted download wastes an hour of someone's afternoon.
- Write each ISO to its own USB stick and test-boot it on your own machine.
- Label the sticks with distro name, version, and architecture.
- Print a one-page handout with the Wi-Fi password, the schedule, and a QR code to your group's chat or mailing list.
Running the Room
Start with triage, not installation
Open with a ten-minute welcome: what Linux is, what it is not, and what today will look like. Then walk the room and sort people into three groups — ready to install, needs a backup first, and just here to watch and ask questions. Watching is a valid way to attend. Never pressure anyone to wipe a machine they are not ready to wipe.
Backups come first, always
Before anyone touches a partition table, their personal files should exist somewhere else. Cloud storage, an external drive, or a USB stick they bought at the door — the destination does not matter, only that it is not the disk being reformatted. Say this out loud, twice.
Nobody learns Linux because they were told to. They learn it because a stranger handed them a working laptop and a phone number for when it breaks.
Do the live test first
Boot the USB stick in live mode and check the three things that break most often: Wi-Fi, sound, and screen brightness. If Wi-Fi does not work in the live session, it probably will not work after installation either, and you have just saved someone an hour of frustration.
Install, then update, then celebrate
Walk through the installer side by side so people can follow along. Once the install finishes, run system updates immediately, set up automatic security updates, and help each person install one thing they will actually use — a browser, a media player, a code editor. A fresh system with nothing familiar on it feels empty; one working app makes it feel like home.
Common Problems and How to Handle Them
- Secure Boot blocks the installer. Disable it in BIOS, or use a distro with signed bootloaders. Have the BIOS key for common brands written down.
- Windows will not shrink its partition. Disable fast startup and BitLocker first, then defragment. If it still refuses, install to a separate drive or use the whole disk after a backup.
- No Wi-Fi after install. Keep a USB tethering option ready — most phones can share a connection over USB with no drivers needed.
- NVIDIA black screen. Boot with nomodeset, install the proprietary driver, and reboot.
- Someone panics about losing Windows. Reassure them, stop the install, and offer dual boot or a live USB instead. Consent matters more than your schedule.
After the Fest: Keep the Momentum
- Send a follow-up message with links to the distro's documentation and forums.
- Schedule a casual "fix-up night" three weeks later for broken Wi-Fi, printing, and dual-boot questions.
- Invite the people you helped to become helpers at the next event. That is how a community grows.
- Write down what went wrong and what you would change. Your second fest will be twice as smooth.
The measure of a good install fest is not how many machines you converted. It is how many people leave believing they can maintain one themselves. Aim for that, hand out plenty of stickers, and let the last laptop in the room earn the applause it deserves.
Photo: Quang Nguyen Vinh / Pexels